Monthly User Calendar
On the monthly view, unapproved events are marked by a Recent (small clock) icon, meanwhile approved events are marked by a tick right before the event type name, under the Type column. Rejected events aren't present in this view.
Grey cells indicates weekends, red ones indicates Public Holidays.
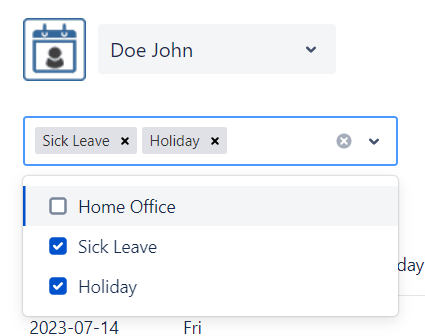
How to filter event types?
To filter displayed event types, simply click on the Filter Event Types dropdown located right below the user selection, on the upper-left corner of the page, and select the desired event types. To reset filters, click the small X icon.
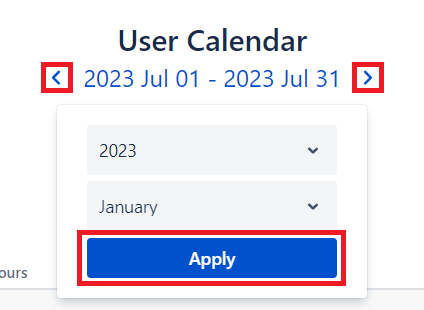
How to switch between monthly views?
Navigation back and forth between monthly views is possible by clicking on the left and right arrows located below the User Calendar title or by clicking on the current period. In the latter case, select the desired period and click on the Apply button.
Total Time
Total time represets the total duration of displayed approved events. It is located right below the monthly view period selection.
How to export calendar data to Excel document?
Calendar can be saved by clicking on the Export button located on the upper-right corner of the calendar.
Note: However the calender doesn't display rejected events, they are present in the exported Excel file.
How to manage events?
Event management is very similar to the General Calendar Event Actions, but the User Calendar monthly view has its own particularities:
Event creation: Events can be created by clicking on the Event Type column on the desired empty row, which represents the start date of the event. When the cursor is hovering over a valid area, a small Edit(crayon) icon appears.
Event modifications: Events can be modified by clicking on the More icon in the corresponding Event Type column. When the cursor is hovering over the valid area, the More icon appears.
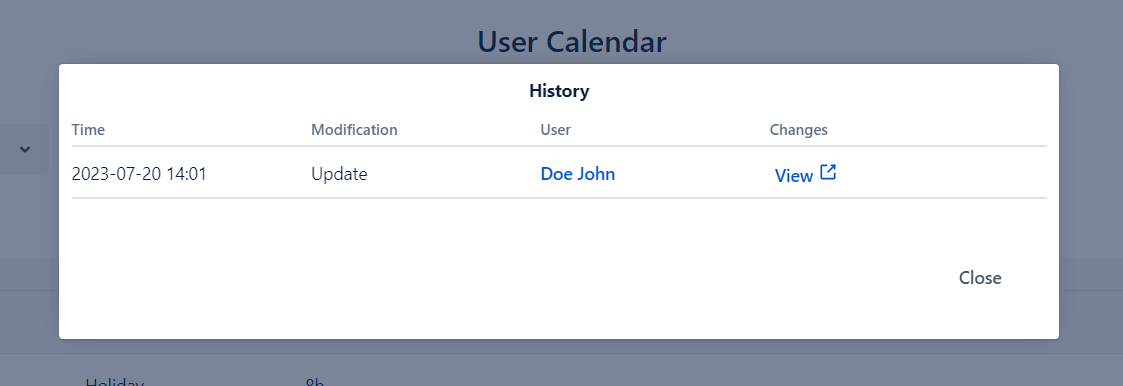
Event History: Event history is displayed whenever the current user clicks on the corresponding row of the table (if history is present and the user has permission to see it).


