Event Type Limits
After an event type has been created, you can set annual limits on them. You can personalize these later.
On the main menu bar choose Event types. Then from the event type list, click on Manage Limits on the desired event type to open the limits data sheet.
The following page will appear:
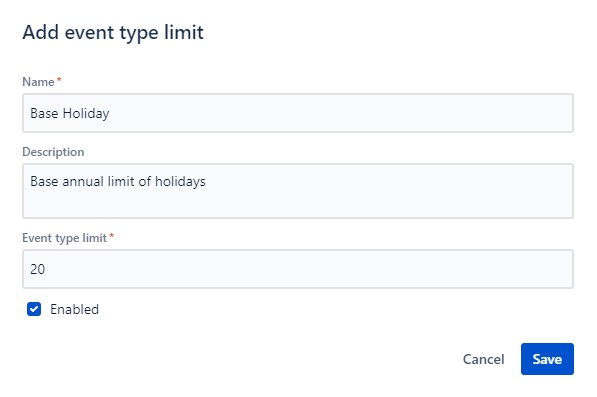
You can add a new limit entry by clicking Add limit on the top-right corner of the page. When clicked, the event type limit form will open.
You have to provide a name and the number of days when creating an event type limit. The number of days can be provided as an integer or a fraction, up to 2 decimal places.
Enabling the new Annual Limit:
- You can make the Event type's Annual limit available to all users as soon as it has been created by checking the Enabled checkbox.
- You can leave the checkbox unchecked to hide it for further configuration.
- You can enable or disable the Annual limit directly from the Event type limits view, by clicking the Activate/Deactivate link at the end of the Annual limits list.
After event type limits have been set up, they will show up on:
- Annual Calendar, when the corresponding event type is selected in the Event Type selector
- User Calendar, when the corresponding event type is selected on the tracker, or configured in the configuration page


