Microsoft exchange settings
Required permissions
- You need to be a JIRA Administrator
Team Trax can be integrated with Microsoft Exchange Calendar. In order to do so, please follow the steps below:
Register an application with the Microsoft identity platform by following these steps:
-
Sign in to the Azure portal using either a work or school account or a personal Microsoft account.
-
If your account gives you access to more than one tenant, select your account in the top right corner, and set your portal session to the Azure AD tenant that you want.
-
In the left-hand navigation pane, select the Azure Active Directory service, and then select App registrations > New registration.
-
When the Register an application page appears, enter your application's registration information:
- Name - Enter a meaningful application name that will be displayed to users of the app.
- Supported account types - Select which accounts you would like your application to support (personal Microsoft accounts are currently not recommended by Microsoft). If unsure, choose Accounts in this organizational directory only.
Supported Account Types Description Accounts in this organizational directory only Select this option if you're building a line-of-business (LOB) application. This option is not available if you're not registering the application in a directory.
This option maps to Azure AD only single-tenant.
This is the default option unless you're registering the app outside of a directory. In cases where the app is registered outside of a directory, the default is Azure AD multi-tenant and personal Microsoft accounts.Accounts in any organizational directory Select this option if you would like to target all business and educational customers.
This option maps to an Azure AD only multi-tenant.
If you registered the app as Azure AD only single-tenant, you can update it to be Azure AD multi-tenant and back to single-tenant through the Authentication blade.Accounts in any organizational directory and personal Microsoft accounts Select this option to target the widest set of customers.
This option maps to Azure AD multi-tenant and personal Microsoft accounts.
If you registered the app as Azure AD multi-tenant and personal Microsoft accounts, you cannot change this in the UI. Instead, you must use the application manifest editor to change the supported account types. -
Redirect URI does not need to be configured.
-
When finished, select Register.

Azure AD assigns a unique application (client) ID to your app, and you're taken to your application's Overview page. To add additional capabilities to your application, you can select other configuration options including branding, certificates and secrets, API permissions, and more.
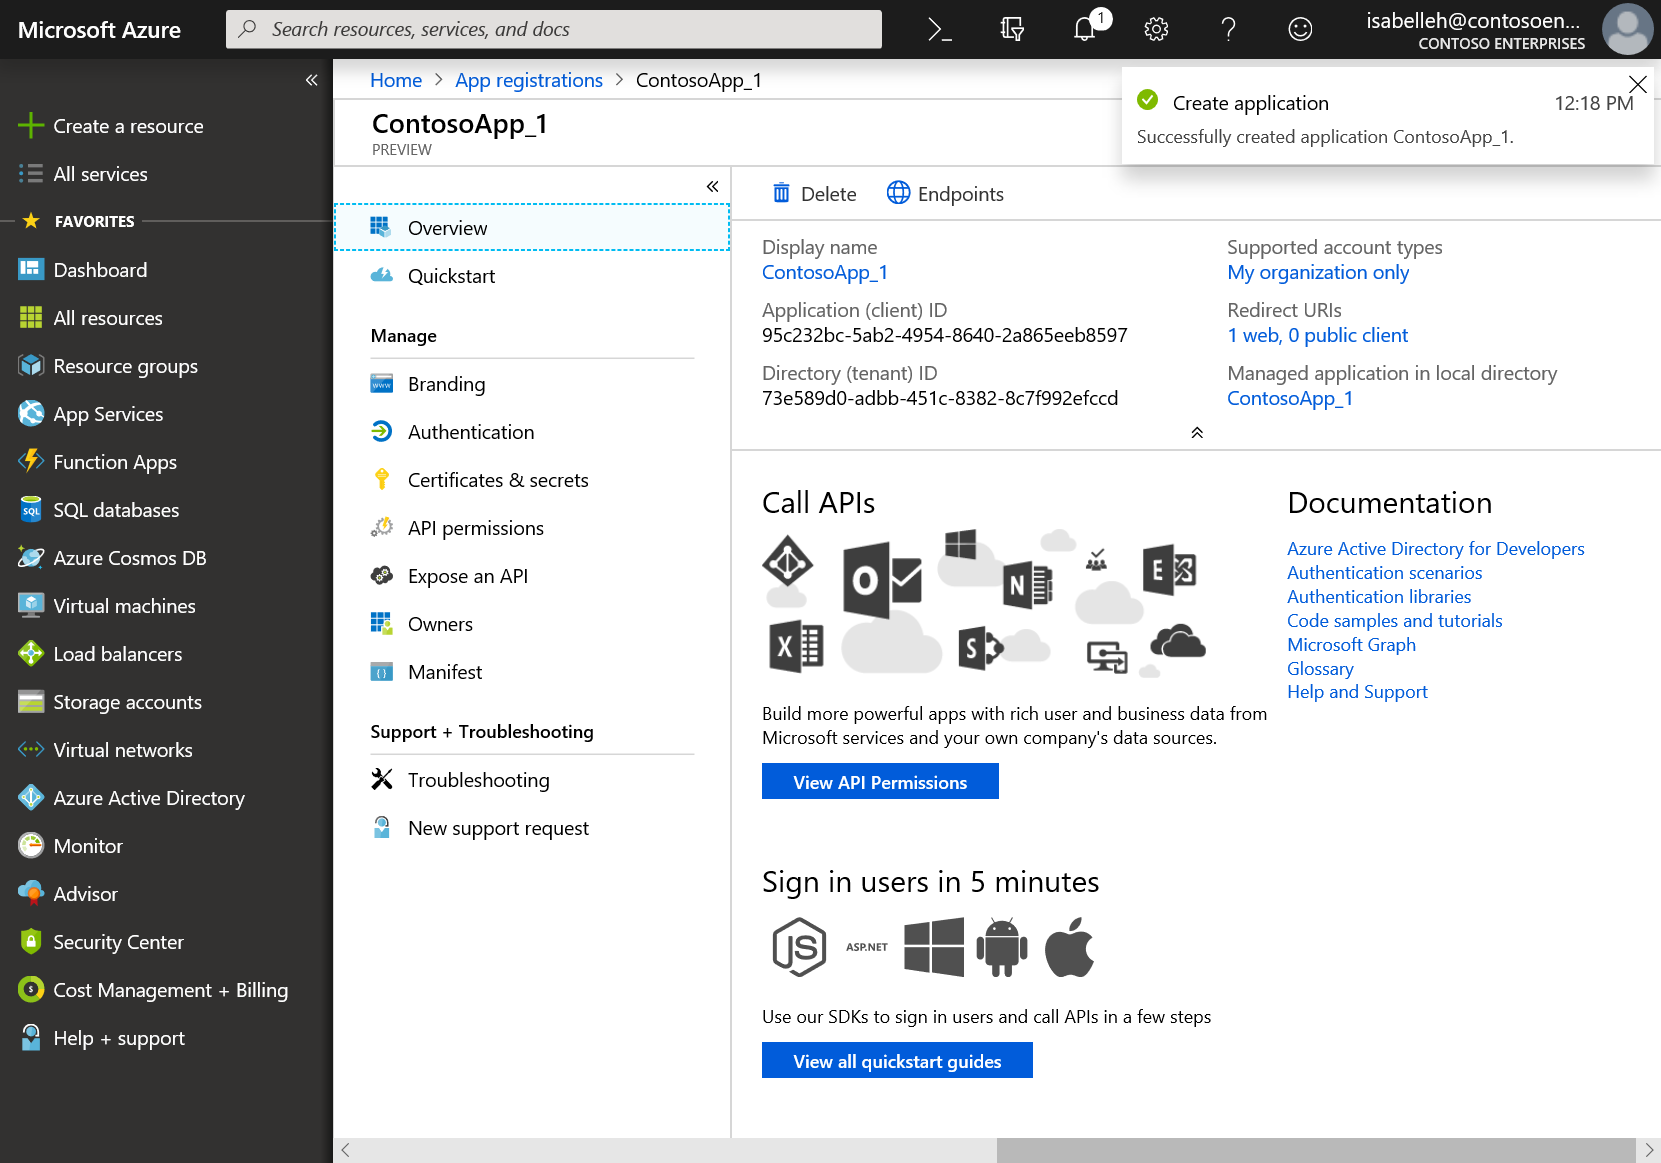
-
In the left-hand navigation pane select App registrations and click on the newly created app registration
-
Under Certificates & secrets create a new Client secret
-
Go to API permissions and add the following permissions by selecting Microsoft Graph for the API and Application Permissions as the type of permissions:
Microsoft Graph (4):- Calendars.ReadWrite
- Calendars.ReadWrite.All
- User.Read
- User.Read.All
See full guide: https://docs.microsoft.com/en-us/graph/auth-register-app-v2
Under Microsoft Exchange settings:
- Provide Directory (tenant) ID and Application (client) ID as well as the Client secret
![]()